|
|
|
|
|
|
|
Cabin Top - 1989 |
||||
The original cabin top was 3/8” plywood covered with canvas that was set in white lead compound, stretched and tacked along the edges under the mahogany trim. The canvas was soaked with water, painted immediately, and allowed to dry for 3 days. Two more thin coats of paint were applied, then all trim, hatch slides, etc were installed. In later years, the canvas was sparingly painted only when absolutely necessary, as paint buildup leads to cracking of the paint and canvas. Through experience, we saw that the canvas needed to be replaced every fourteen years (We replaced the canvas on the cabin top in 1973, and the deck had been recanvased right before we bought Voyageur in 1967). After 14 years, the canvas requires an increasing amount of yearly maintenance to last another season.In 1989, we decided to replace the canvas with a longer-lasting and repairable surface: polypropylene cloth set in an epoxy resin. Because the original canvas was set in white lead, it would have been difficult (or impossible) to remove the old oils from the surface of the existing plywood to get a good bond with the epoxy. We replaced the plywood to ensure that we would not have delamination problems in the future.In 2011, we removed the handrails, stripped them to bare wood and refinished them. We also stripped all the paint from the cabintop at this time. The polypropylene cloth is still in good condition.Materials: 3/8” marine fir plywood, West System epoxy, and polypropylene cloth from Defender. |
||||
|
|
|
|
|
|
|
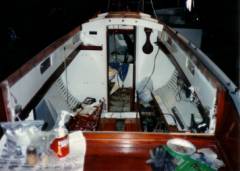
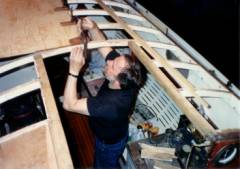
1.
All taken apart – cabin beams, clamps and aft cabin wall have been
removed so we can replace broken screws and epoxy glue the new joints. This will help avoid future problems due
to the load of the cabin-top stepped mast. |
|
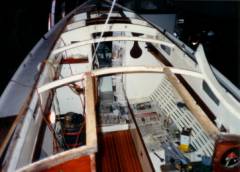
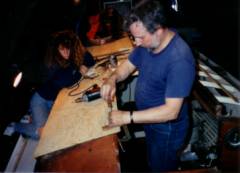
2.
Clamps glued and screwed to cabin sides; cabin beams and aft cabin
wall being reinstalled – all are original. |
|
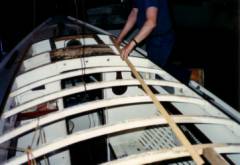
3.
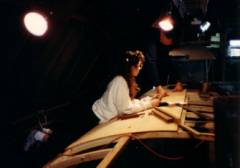
Checking fairness of cabintop beams |
|
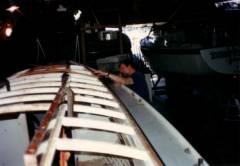
4.
All beams installed and faired; ready for new plywood |
|
5.
Fitting new cabintop plywood |
|
6. Laying plywood |
|
7.
more plywood! |
|
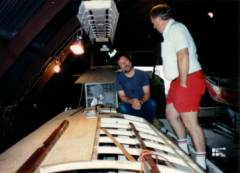
8.
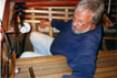
Taking a break (Get back to work, Bill!) |
|
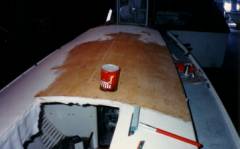
9.
Polypropylene cloth stretched and being wet-out with epoxy. |
|
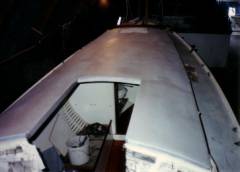
10.
Cabin top finished, painted, and ready for installation of hatches and
trim |
|
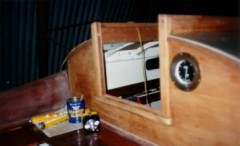
11.
Trim installed, almost ready for stain and varnish |
|
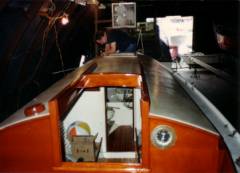
12.
Almost finished! Handrails and
hatches still need to be installed… |